
PVC ceiling panels have become a popular choice for homeowners and contractors alike. Their durability, water resistance, and ease of maintenance make them an ideal option for modern interior design. This comprehensive guide will walk you through the entire process—from gathering the right materials to final installation and maintenance—ensuring a professional finish every time.
Why Choose PVC Ceiling Panels?
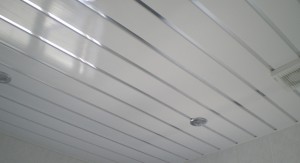
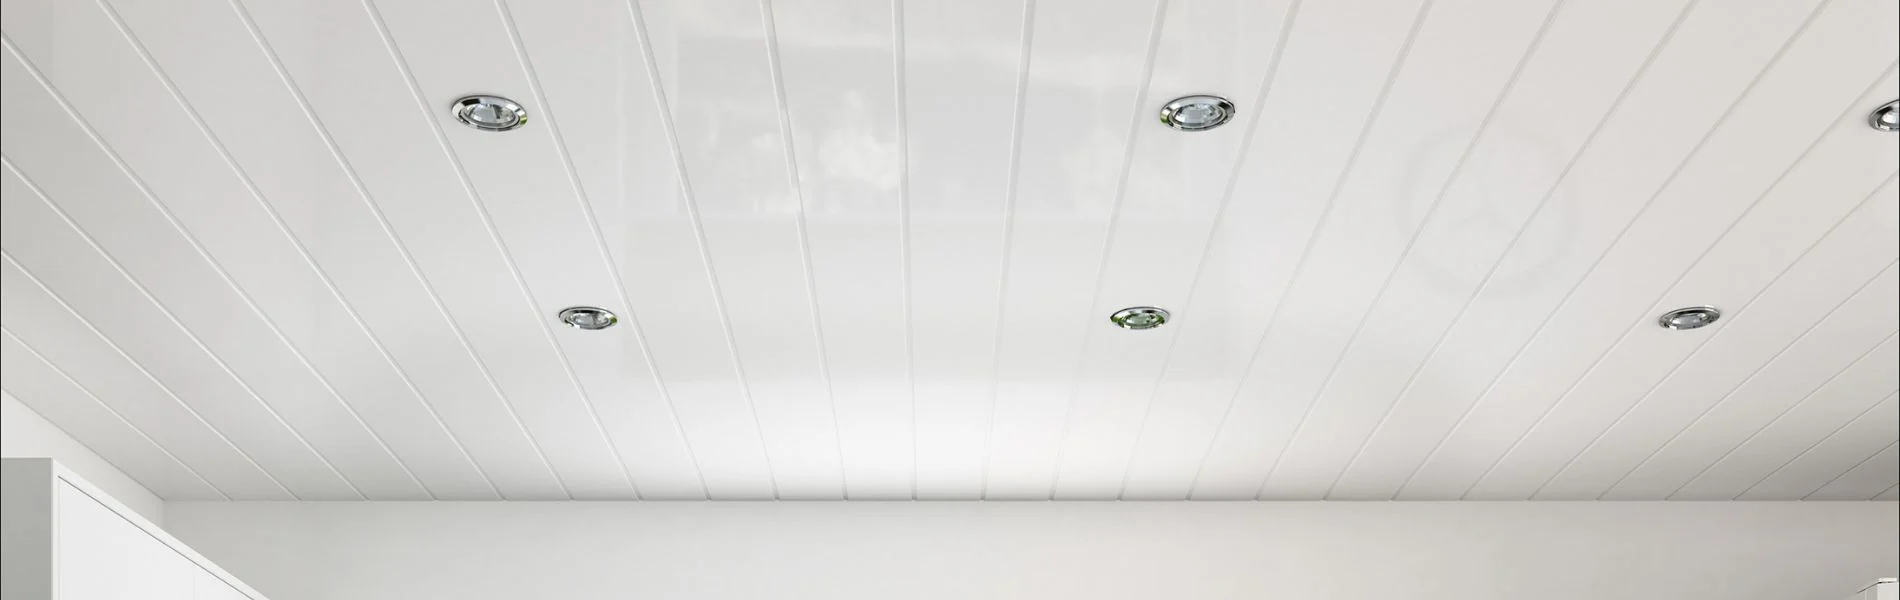
PVC ceiling panels are renowned for their lightweight nature, resistance to moisture, and low maintenance requirements. They offer a cost-effective solution that can dramatically transform the look of any room, making them a favorite for both residential and commercial spaces.
What This Guide Covers
In this guide, you will learn:
-
The essential materials and tools needed
-
How to prepare your space for installation
-
Step-by-step instructions to install your panels seamlessly
-
Tips for troubleshooting and maintaining your new ceiling
Materials & Tools Checklist
Materials Needed
- PVC Ceiling Panels: Available in various designs, lengths, and widths to suit your space.
- PVC Adhesive or Double-Sided Tape: Choose the adhesive that best fits your installation needs.
- Finishing Trims and Edge Profiles: These add a refined look and protect the edges of your panels.
Essential Tools
- Tape Measure or Laser Level: For accurate measurements and alignment.
- Utility Knife or Handsaw: To cut the panels to the required size.
- Caulking Gun: Necessary for applying adhesive evenly.
- Safety Gear: Gloves and goggles to protect your hands and eyes during the installation.
- Step Ladder or Scaffold: Ensures safe access to high areas.

Preparation
Measure Your Space
Begin by measuring the ceiling area accurately. Determine the length and width of the space to plan your panel layout effectively. This planning helps avoid unsightly small pieces at the edges, ensuring a cohesive look.
Surface Preparation
-
Clean the Ceiling: Ensure that the ceiling is free of dust, grease, and any loose debris.
-
Repair Imperfections: Fill any cracks or uneven areas to create a smooth surface for the panels.
-
Dry Run: Lay out the panels without adhesive to visualize the final installation and make any necessary adjustments.
Layout Planning
Create a basic sketch of your ceiling layout. Mark the center and key reference points using a laser level or chalk line. This step is crucial to maintain symmetry and alignment throughout the installation process.
Step-by-Step Installation Process
1. Mark the Starting Line
Use a laser level or chalk line to mark a straight, horizontal line across the ceiling. This line serves as your reference point for the first row of panels, ensuring uniformity throughout the installation.
2. Cut the Panels to Size
Measure the panels according to your ceiling dimensions. Use a utility knife or handsaw to trim them to the appropriate size. Always dry-fit the panels first to confirm accuracy before applying any adhesive.
3. Apply Adhesive or Tape
Apply PVC adhesive in a zigzag pattern on the back of each panel. If using double-sided tape, ensure it is firmly attached. The adhesive should be applied evenly to prevent any gaps that could lead to air pockets or uneven surfaces.
4. Mount the Panels
Starting from the center or one of the corners (based on your layout), press the panel onto the ceiling along the marked line. Use firm and even pressure to ensure a secure bond, beginning at the center and working towards the edges.
5. Fit and Join Panels
Align the next panel carefully with the first, ensuring that the tongue-and-groove system locks perfectly. Continue this process across the entire ceiling, maintaining consistent alignment and a tight fit between panels.
6. Install Trims and Edging
After all panels are in place, attach the finishing trims around the edges and corners. This not only enhances the visual appeal but also provides additional protection against moisture infiltration.
7. Final Check
Perform a thorough inspection of the installation:
-
Ensure all panels are flush and secure.
-
Check for any misalignment or air gaps.
-
Clean off any excess adhesive with a damp cloth for a neat finish.
Pro Tips
Work in Moderate Temperature
Optimal adhesive performance is achieved in moderate temperatures. Avoid installing panels during extreme cold or heat to ensure proper curing and bonding.
Apply Even Pressure
When mounting panels, use even pressure across the entire surface. This helps to prevent air pockets and ensures that each panel adheres properly to the ceiling.
Fixing Misalignment
If you notice a panel is slightly off or misaligned, gently remove and reapply it before the adhesive sets completely. Adjustments made at this stage are easier than after the adhesive has cured.
Addressing Fit Issues
If panels do not fit snugly, trim the edges slightly or sand them for a smoother finish. A precise fit enhances both the appearance and functionality of the ceiling.
Maintenance and Cleaning
Routine Care
Keep your PVC ceiling panels looking new by wiping them down with a damp cloth and mild detergent regularly. This removes dust and prevents buildup without damaging the panels.
Avoid Abrasive Cleaners
Steer clear of harsh chemicals and abrasive sponges, as these can scratch the surface or cause discoloration over time.
Long-Term Maintenance
Regularly inspect the panels, especially at the joints, for any signs of loosening or damage. Early detection of issues can prevent larger problems and extend the lifespan of your ceiling.
Final Thoughts
PVC ceiling panels offer a stylish and durable solution for modern interiors. With the right preparation, materials, and careful installation, even a DIY enthusiast can achieve a professional finish. Follow this ultimate guide to enjoy the benefits of a beautifully transformed space that is not only visually appealing but also easy to maintain.
Embrace the simplicity and effectiveness of PVC ceiling panels for your next home or office upgrade. Happy installing!
Know more at:
Best PVC Panels for Your Ceilings
PVC Ceiling Panels: The Pros and Cons You Need to Know
Unveiling the Versatility and Elegance of PVC Ceiling Tiles
Elevating Spaces: The Transformative Power of PVC Ceiling Panels
Post time: Jan-27-2025